Navigating The Web: A Deep Dive Into CSS Selectors
As a FrontEnd Developer that makes use of Cascading Style Sheet (CSS), trying to target a particular Hyper Text Markup Language (HTML) element can sometimes be frustrating and confusing if you do not understand how selectors function. This article gives us a deep look into CSS selectors, how it works, how you can combine them to get your desired layouts, and also help step up your CSS game.
Prerequisite
Knowledge of HTML
Basic Knowledge of CSS
What are CSS Selectors?
CSS selectors are part of the CSS rule that instructs the browser on what HTML element has been selected to have a certain CSS value which is the rule applied to them. They are patterns used to target HTML elements to manipulate them.
CSS selectors are very important in web styling, they are the foundation of web styling. They allow users to precisely target HTML elements and this results in visually appealing layouts. CSS selectors also help in creating responsive web designs and also keep the CSS codes modular and reusable.
Different Types of CSS Selectors
There are five types of CSS selectors and we will be looking into them in this article. They are:
Universal selectors
Element selectors
ID selectors
Class selectors
Attribute selectors
Now, let's look at them individually:
Universal Selectors
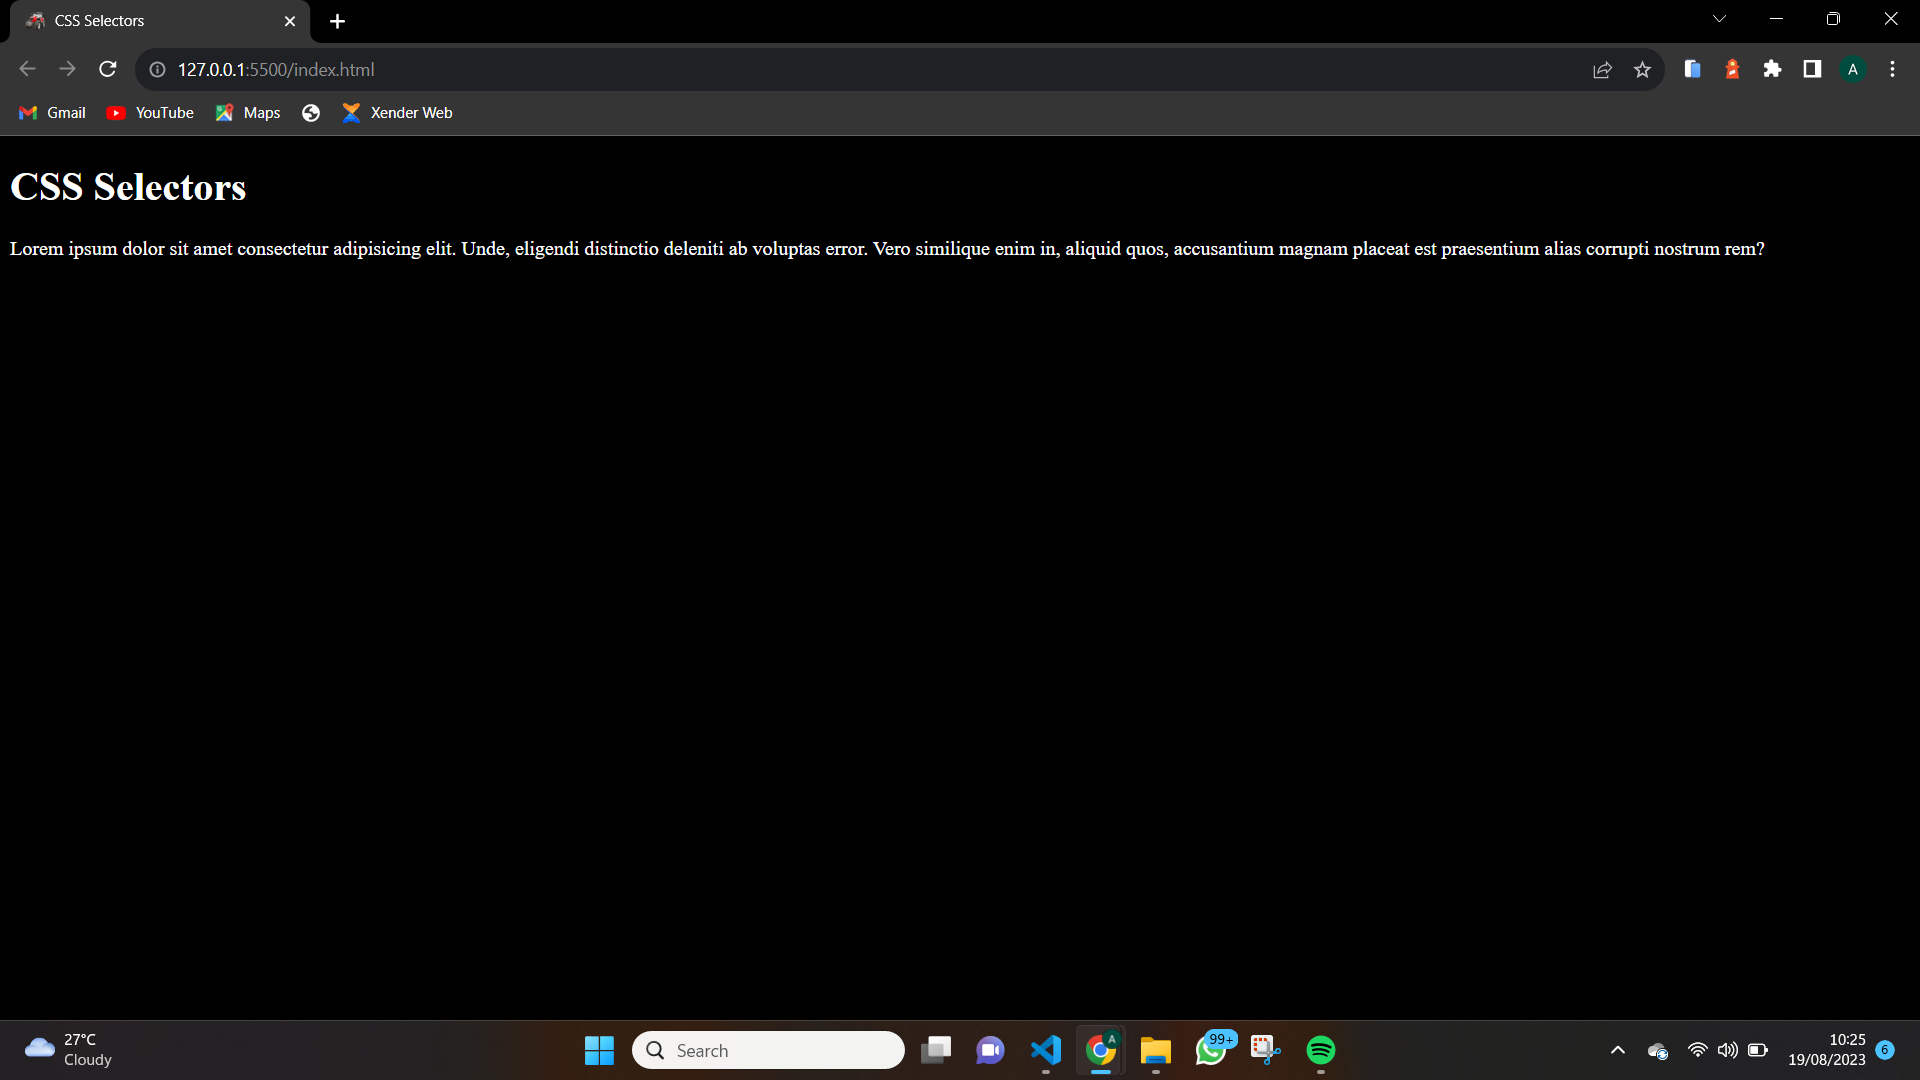
Universal selectors target all the elements on a web page. They allow global styling or reset default styles. They are denoted by an (*). Here is an example of how you can apply it in your CSS.
*{
    background-color: #000;
    color: #fff;
}
The CSS code above gives all the elements of the web page a default style by setting the background to black and the text to white. Here is the result below
Element Selectors
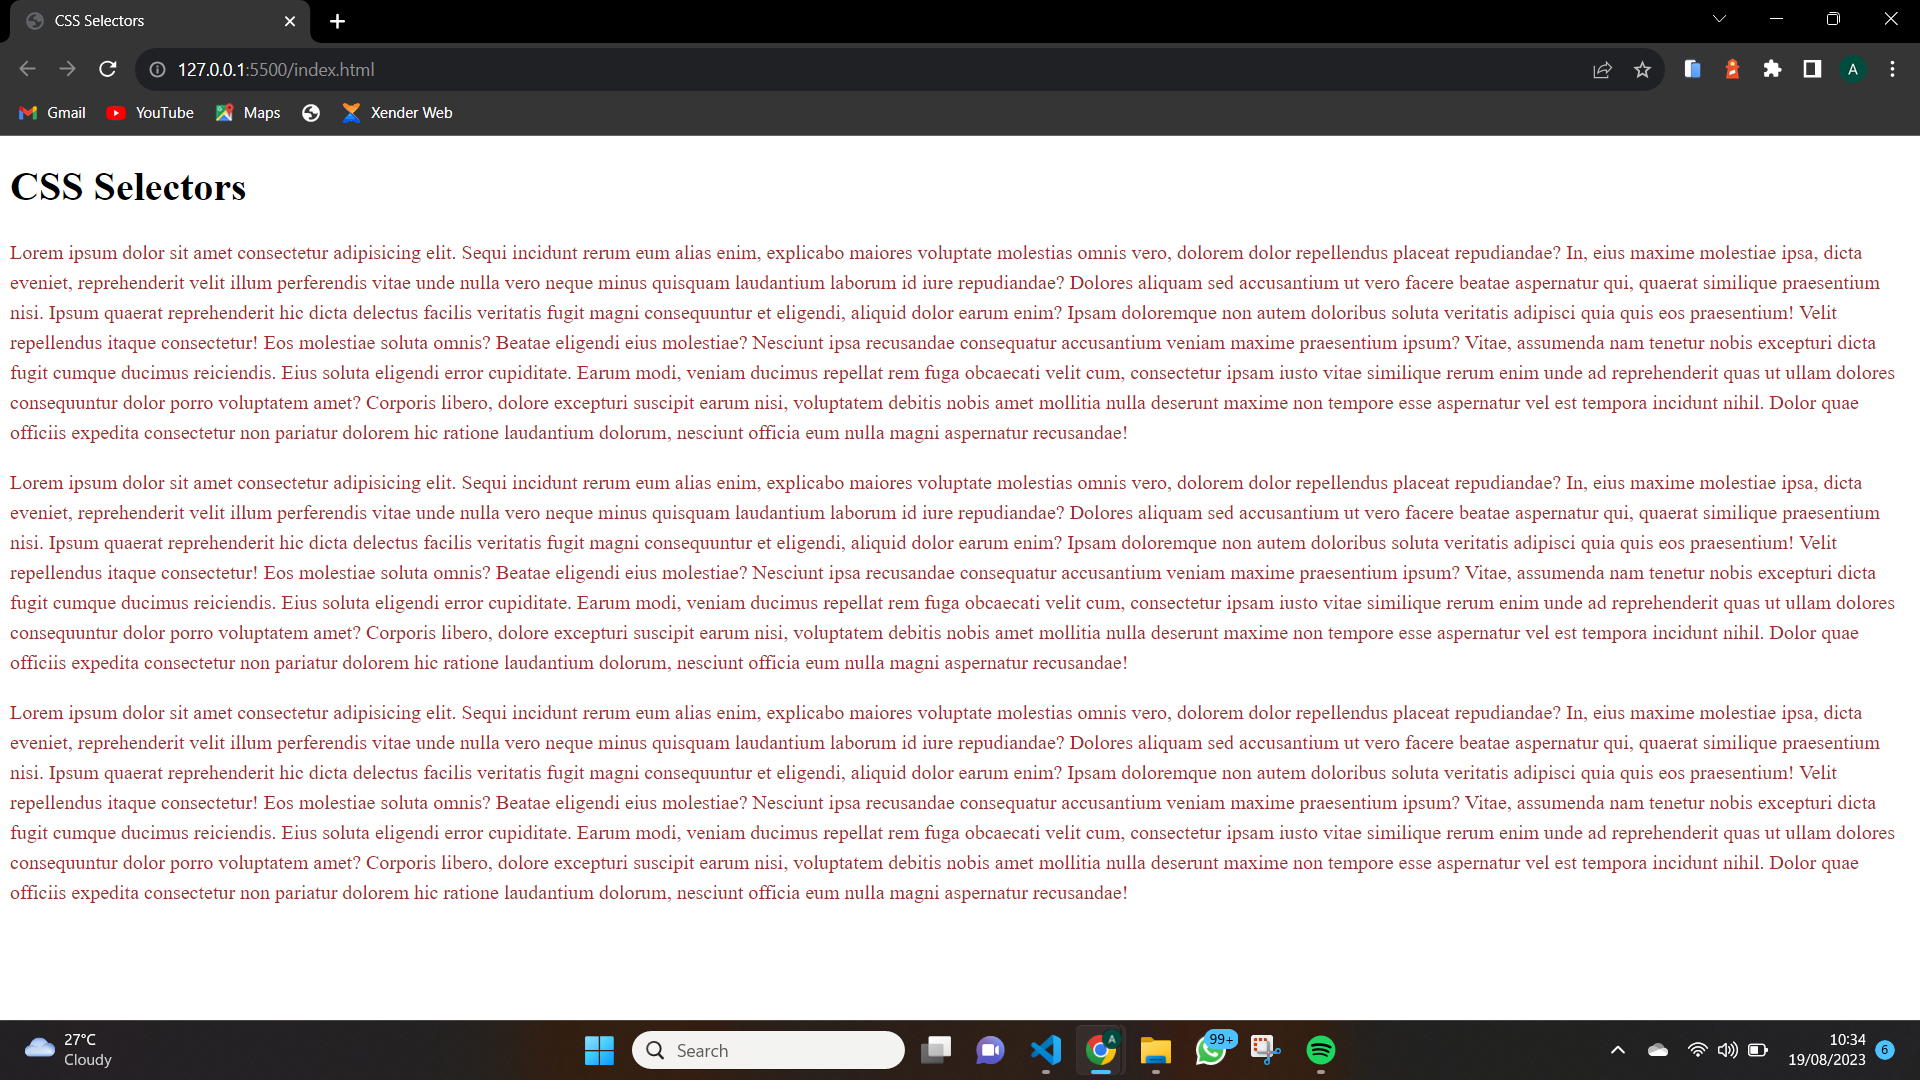
Element selectors target HTML elements by their tag names. This is useful in writing Don't Repeat Yourself (DRY) codes because it targets all elements within the tag name and styles them, thereby increasing code reusability. Here is an example:
p{
    color: brown;
    line-height: 1.5rem;
}
The code above gives all the paragraphs of the web page a color of brown and a line-height of 1.5rem. The result is shown below
ID Selectors
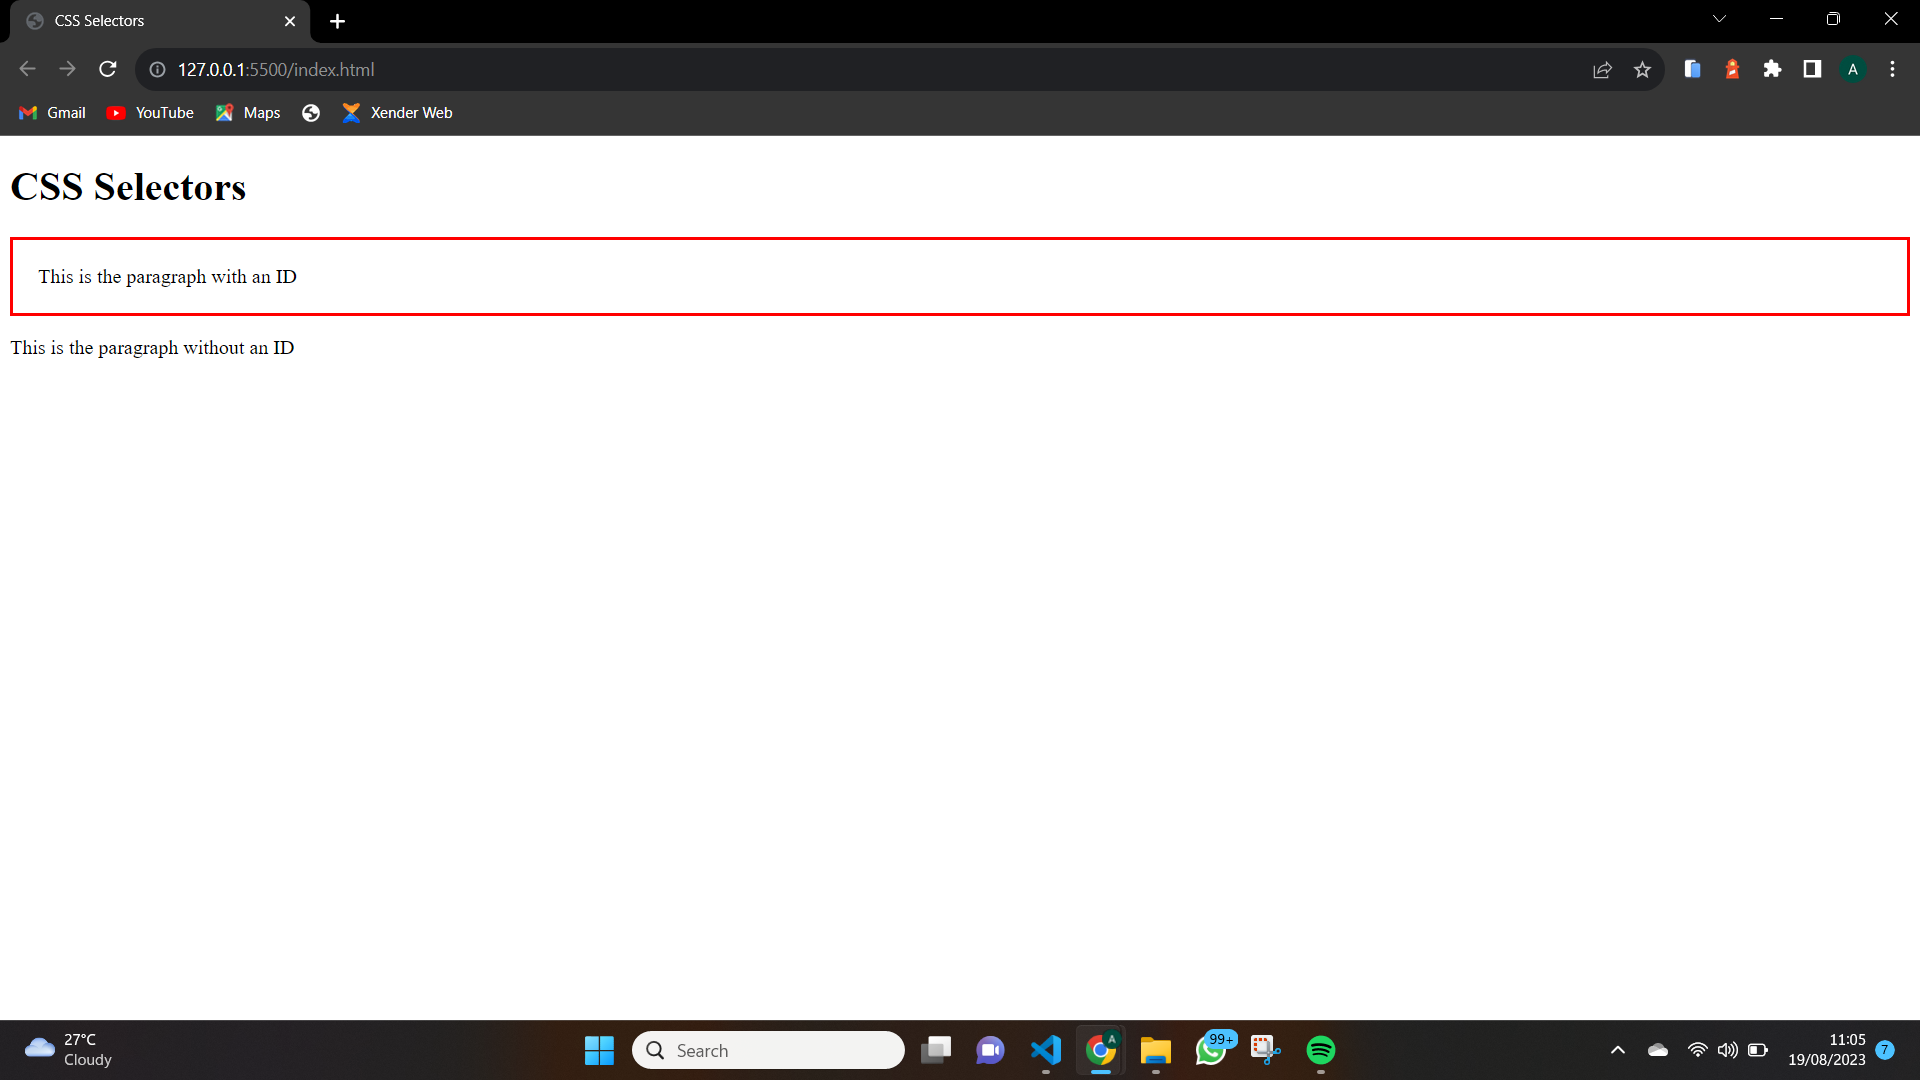
ID selectors are used to target a particular HTML element that bears that Id. They are used mainly when users want only one element to have a certain design on a web page. Id selectors are denoted with (#) followed by a unique name for that Id. Here is an example of how to give an Id to an element
<p id="box1">This is the paragraph with an ID</p>
<p>This is the paragraph without an ID</p>
After giving our element an Id of "box1", we can go ahead to give it a unique style in our CSS
#box1{
    border: 3px solid red;
    padding: 20px;
}
The code above gives the paragraph with the Id a border and padding, it can be seen below
Class Selectors
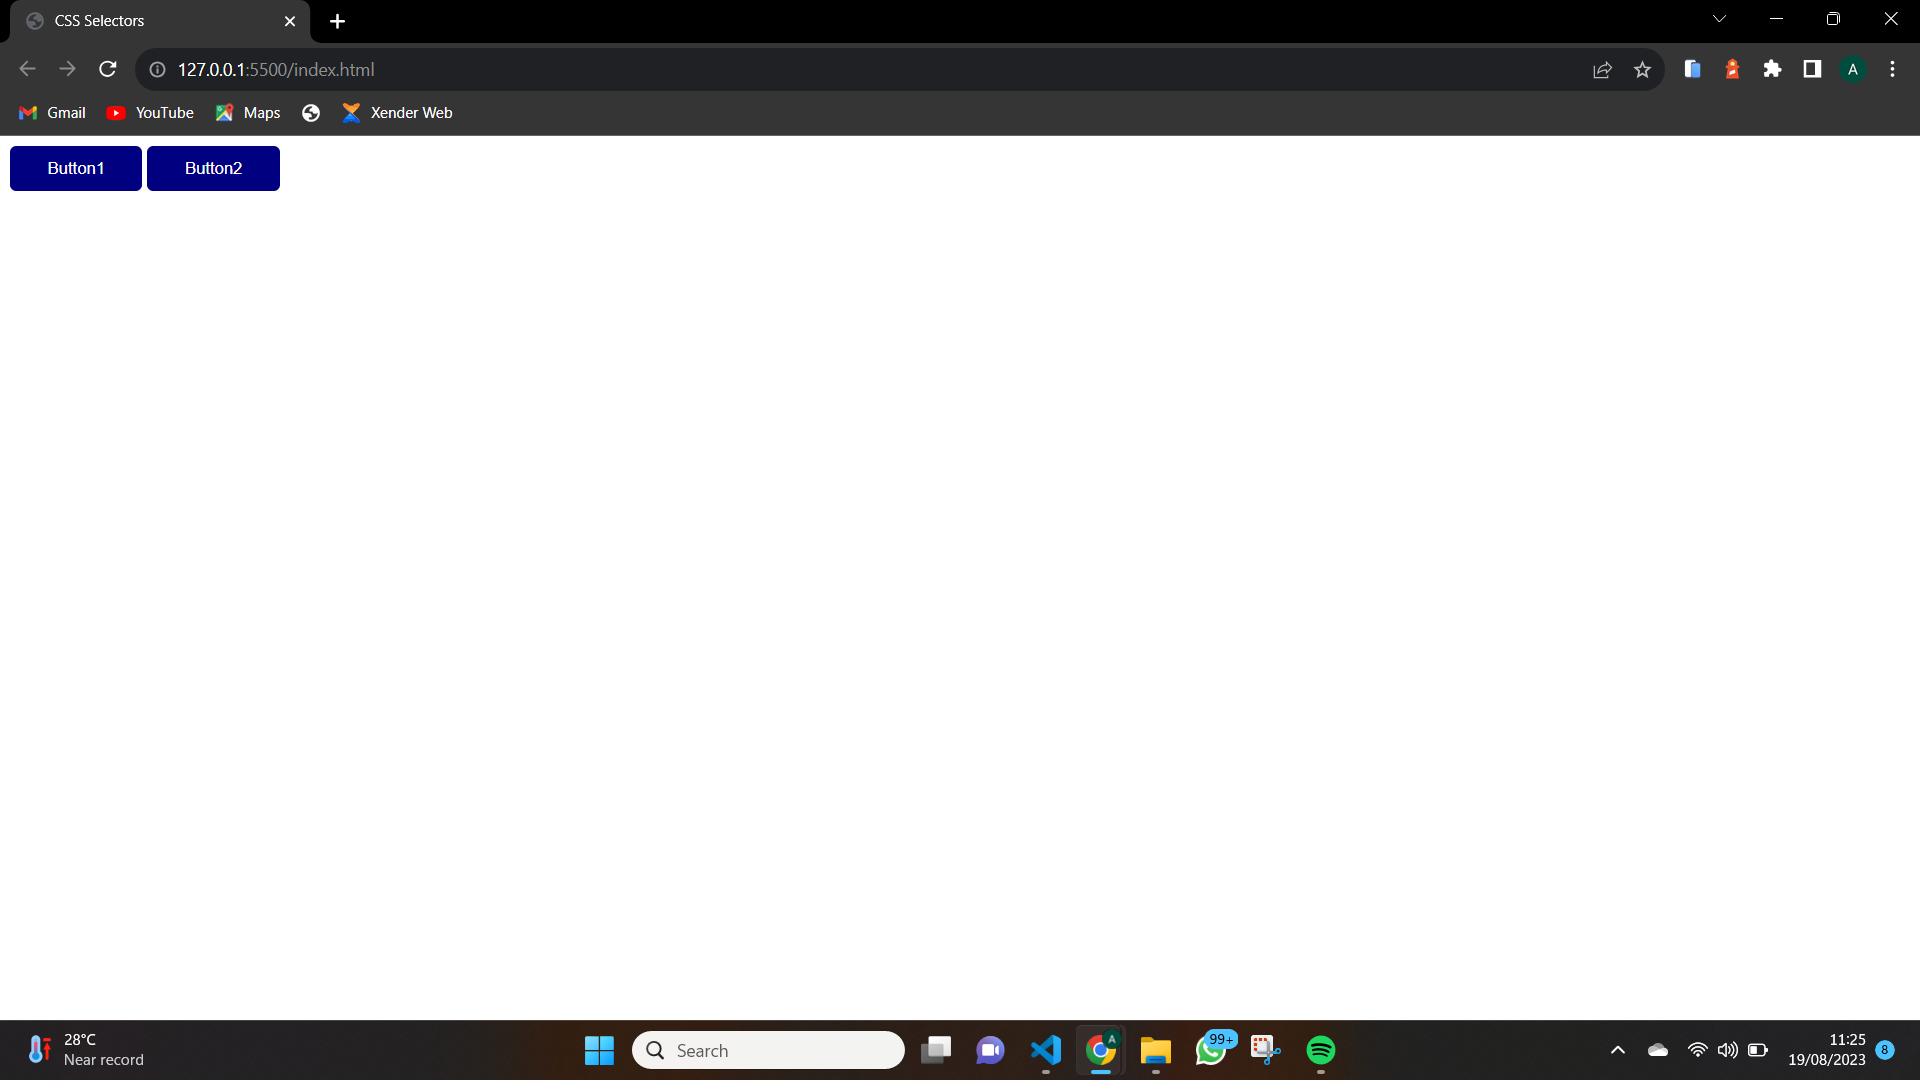
Class selectors are the most important of the CSS selectors, they can be used for group styling and they help in consistency in our design. The class selectors target all elements with the class attribute value. They are denoted by (.). Here is an example of how to assign a class to an element.
<button class="button">Button1</button>
<button class="button">Button2</button>
After giving our element class of "button" each, we can go ahead to give it a unique style in our CSS
.button{
    background-color: navy;
    color: white;
    outline: none;
    border: none;
    padding: 10px 30px;
    border-radius: 5px;
}
The single block of style code is applied to both buttons, giving us the result below:
Attribute Selectors
Attribute selectors target and styles elements based on their attributes. They are also used when writing DRY codes because it supports group styling. Attribute selectors are enclosed in square brackets and can select elements with specific attribute values.
Note that no space should be ahead of the opening square bracket. For example: "input [type="submit"]" is wrong and should be written as "input[type="submit"]".
Here is an example of how attribute selectors are used in CSS
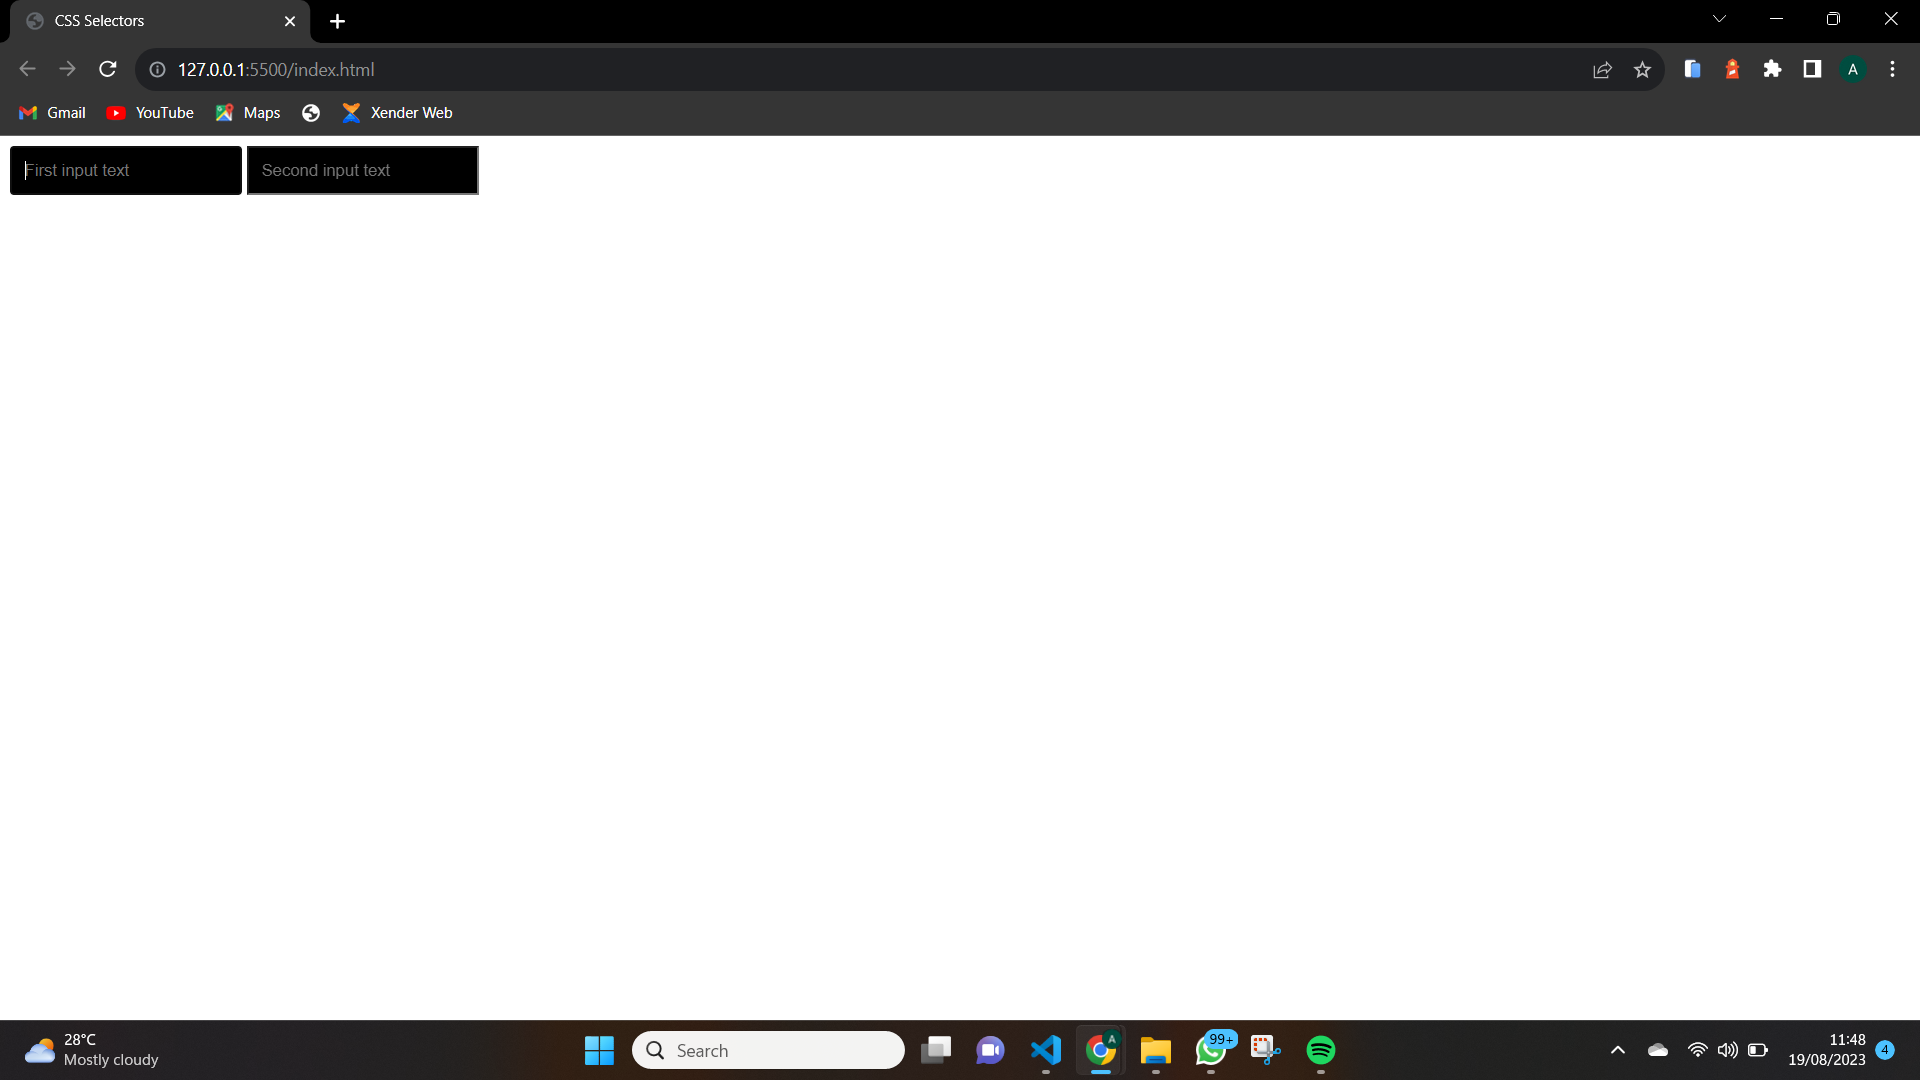
input[type="text"]{
    background-color: black;
    padding: 10px;
    color: white;
}
The code above applies the above style to all HTML element input tags with the type of "text". Can be seen below
<input type="text" placeholder="First input text">
<input type="text" placeholder="Second input text">
And this will be the output
CSS Combinators
CSS combinators are used to show the relationship between two elements. They are symbols that show the relationship that elements share to be more precise in targeting elements for styling. They specify which element is to be selected in a group of elements. CSS combinators are of four main types:
General Sibling Combinators
Descendant Combinators
Child Combinators
Adjacent Combinators
General Sibling Combinators
Sibling combinators target the next value to the specified element. They make use of the ~ symbol. Here is an example of how it is used
h2 ~ p{
    font-size: 20px;
    color: brown;
}
This gives us the result below

This shows that the <p> was styled and this is because it is the sibling to <h2>
Descendant Combinators
Descendant combinators target all the descendants of a particular element that has been specified no matter how nested the elements are and match all elements within the specified element. Here is an example
.container p{
    font-size: 20px;
    color: brown;
}
This gives us the result below
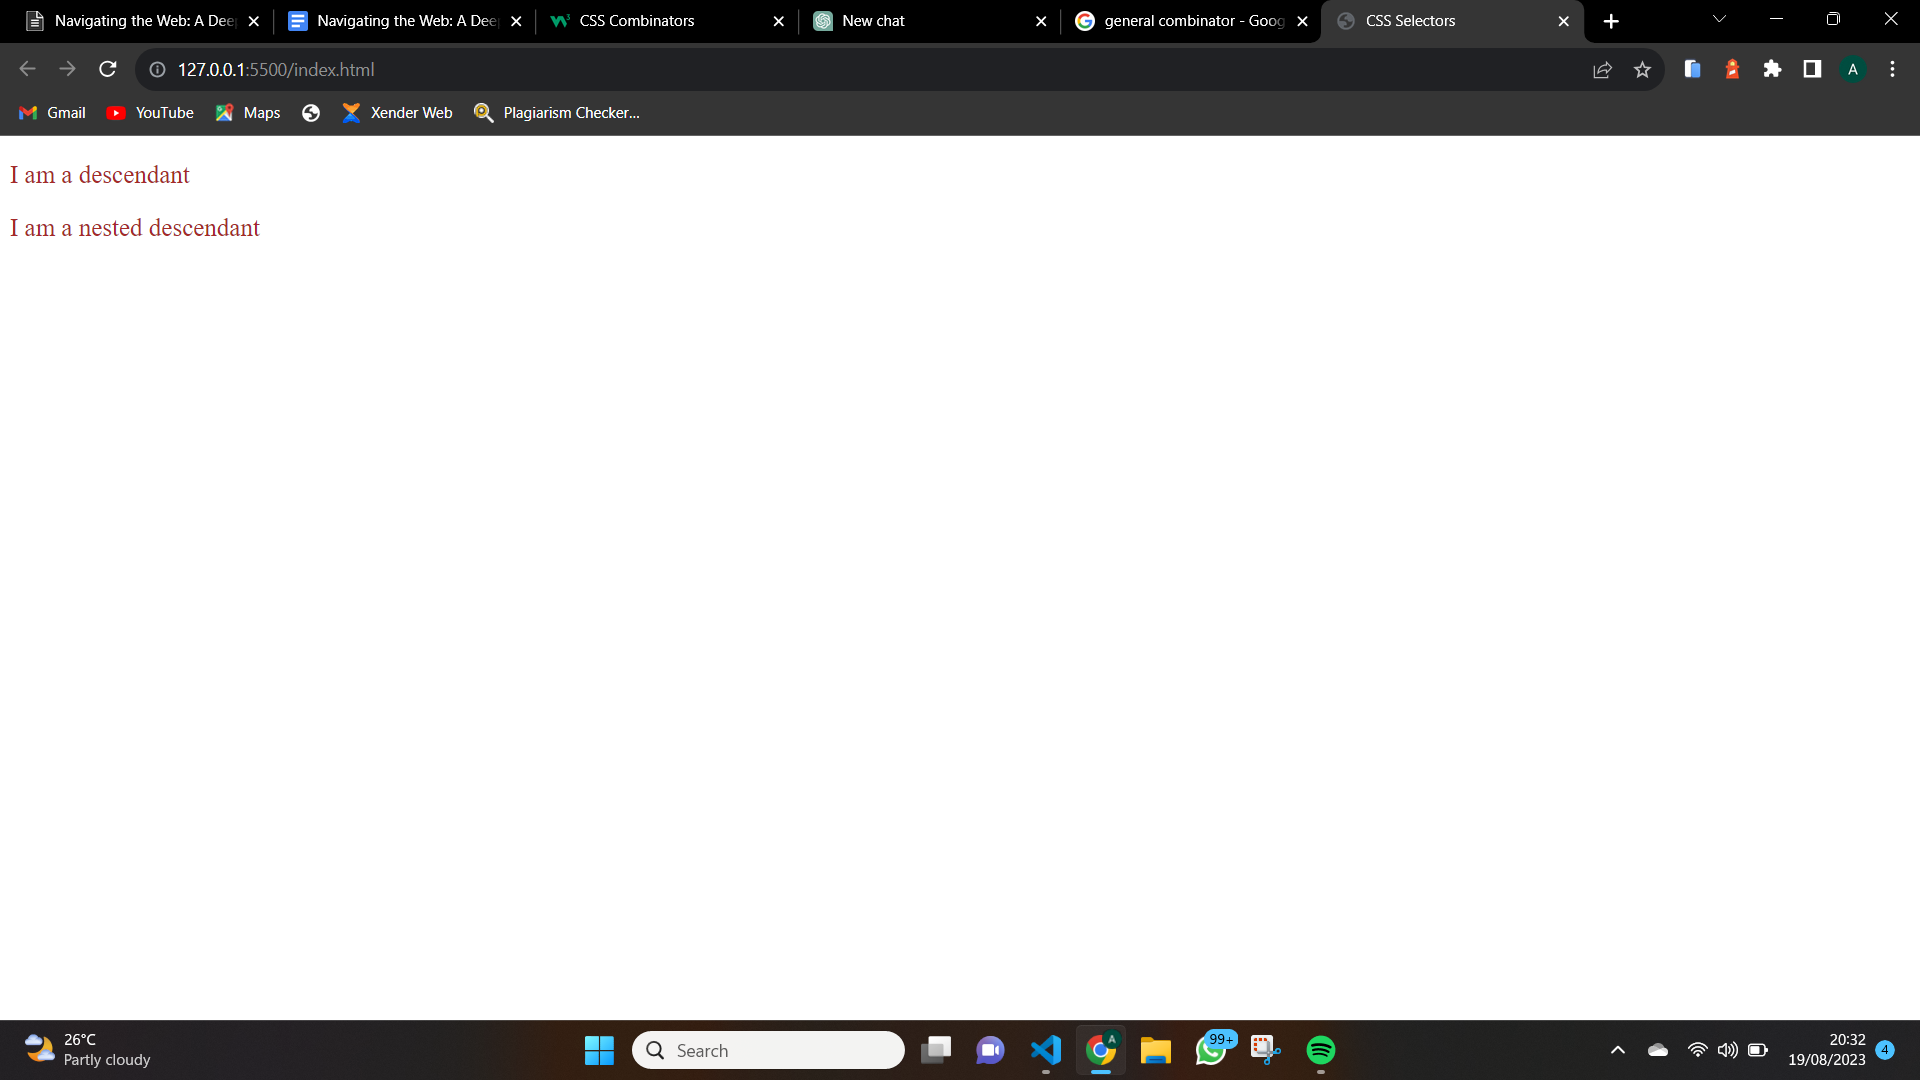
The above shows us that all the descendant elements within the "container" <div> got affected by the CSS style.
Child Combinators
Child combinators target all the descendants that are directly under it, neglecting all other nested descendants in it. They make use of the > symbol. Here is an example of how it is used
    <div class="container">
      <p>I am a descendant</p>
      <div class="inner_container">
        <p>I am a nested descendant</p>
      </div>
    </div>
Now we apply our style
.container > p{
    font-size: 20px;
    color: brown;
}
This gives us the result below
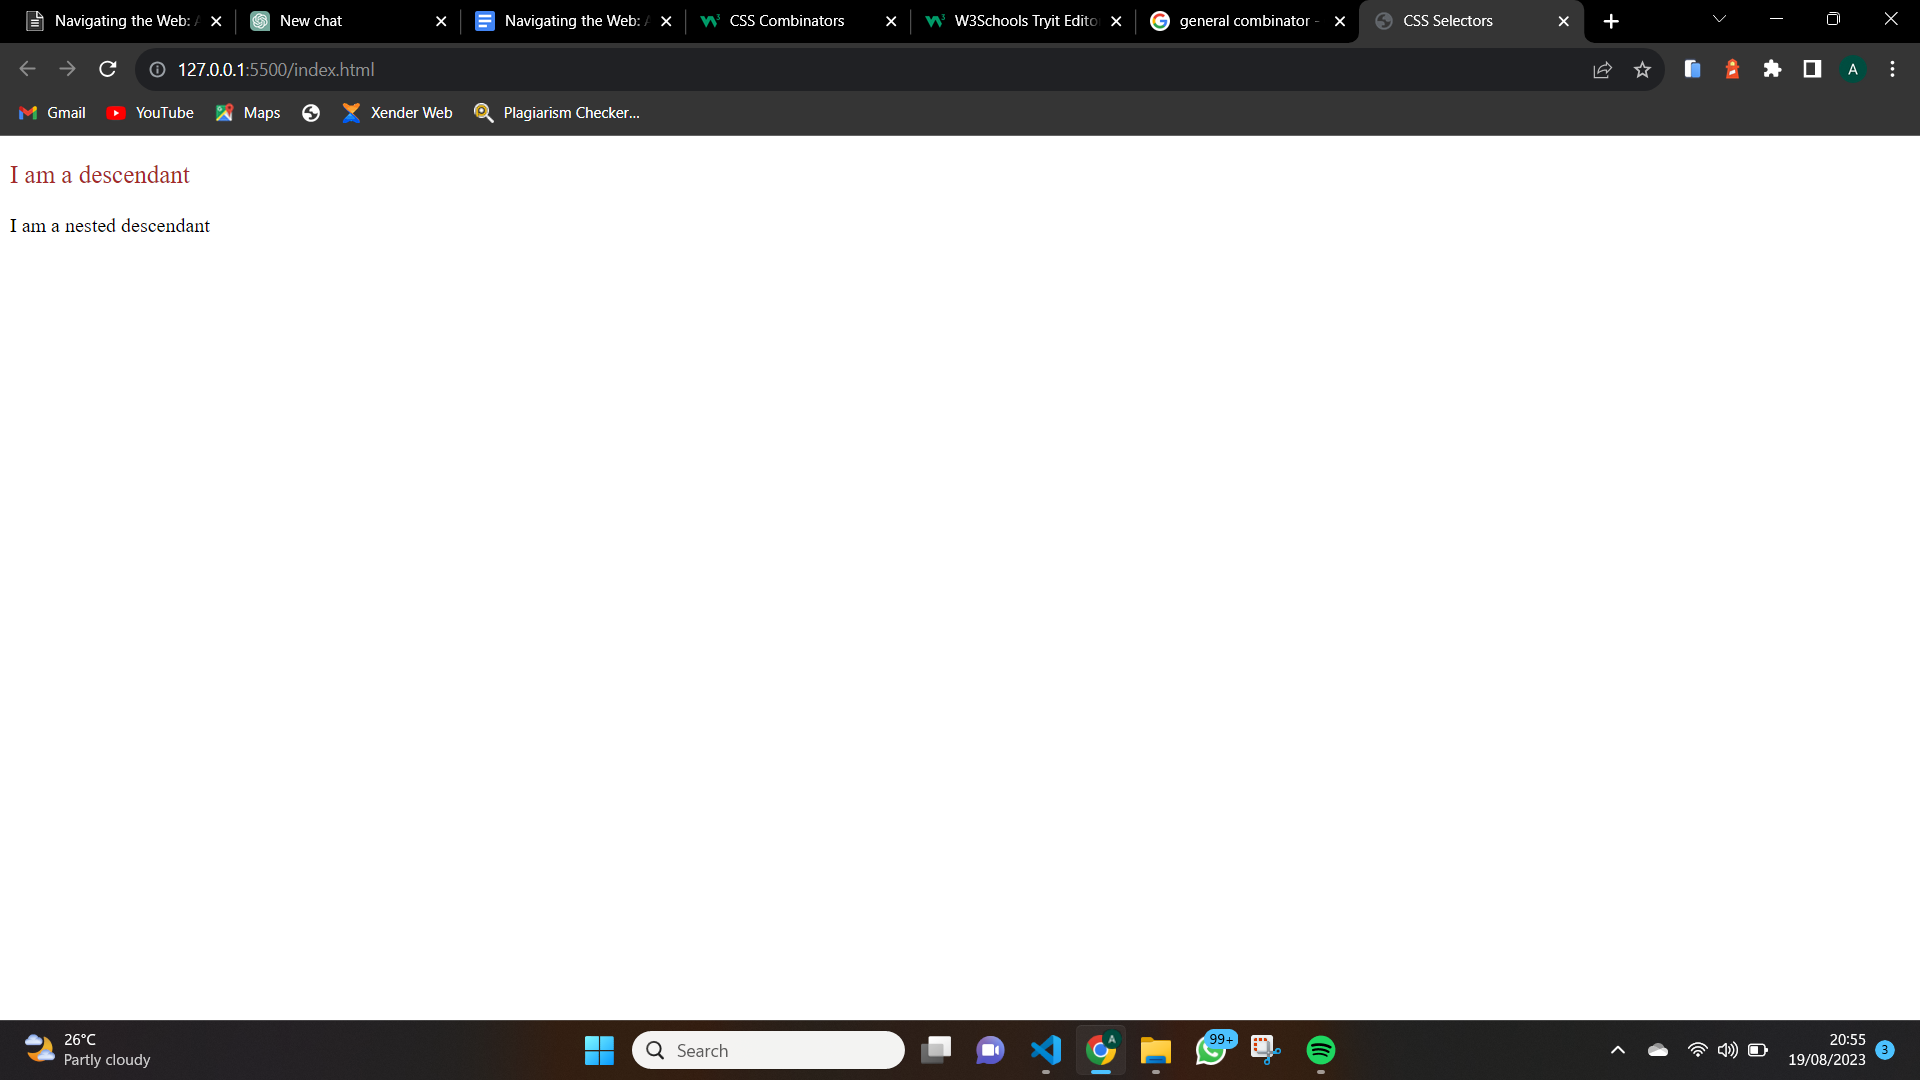
We can see that only the paragraph directly under the container div got styled. This shows how a direct child works.
Adjacent Combinators
Adjacent combinators from the name target the element that immediately follows after the closing of the specified element. They make use of the + symbol. Here is an example of how it is used
<div class="container">
    <p>I am a descendant</p>
</div>
<p>I am the adjacent element</p>
Now let's add styling using Adjacent combinators
.container + p{
    font-size: 20px;
    color: brown;
}
This gives us the result below

We can see that only the second <p> got styled and that is because it follows immediately after </div>.
Employing BEM (Block Element Modifier) Methodology
BEM is a methodology adopted by CSS users to write more clean, modular, and reusable CSS code. They make CSS easier to access and structure the classes in such a way that reflects the structure of the HTML components. BEM as the acronym suggests, consists of three parts:
Block
Element
Modifier
Block
Block represents a distinct part of the User Interface (UI). A block's name should reflect its purpose, examples are button, header, footer, etc. Here is an example
.button{
 /* styles for the button */
}
Element
Element is a part of a block that does a specific function. For instance, a button should have text in it. So use the element to target the text in the button. Element can have only one block and cannot be used outside of the block. Here is an example
.button__text {
  /* styles for the text inside the button */
}
Modifier
The modifier is a class name that through which we can assign various forms and behaviors to a block. For example, the state of a disabled button will be different from an active button. Using a modifier we can specify both states. Here is an example
.button--active {
  /* styles for the active button */
}

/* Modifier for a disabled button */
.button--disabled {
  /* styles for the disabled button */
}
Keep style modular and Reusable
Keeping styles modular and reusable is a fundamental principle in modern web development. Now we have learned about BEM, let's look at some ways we can make our CSS codes modular and reusable
Use BEM Methodology: We have already covered this earlier. Using BEM makes our CSS codes modular and reusable.
By Avoiding Inline Styles: Inline styles always override the external styles so to create more reusable codes, we should avoid inline styles.
By Separating Our Concerns: Our HTML, CSS, and javaScript should not exist on the same file. By separating them into different files and linking them where needed, the reusability of code is possible.
CSS Variables: When we store CSS codes like colors, font sizes, font family, etc in variables. This makes these codes easy to be reused in a project.
Conclusion
In this article, we talked in depth about CSS selectors, their role in styling, the types of CSS selectors, CSS combinators, and some best practices to effectively use CSS selectors. There is a whole lot more we can achieve with CSS selectors but for this article, we will stop here. I urge you to do more research and discover more about CSS selectors using the foundation I have given you.

